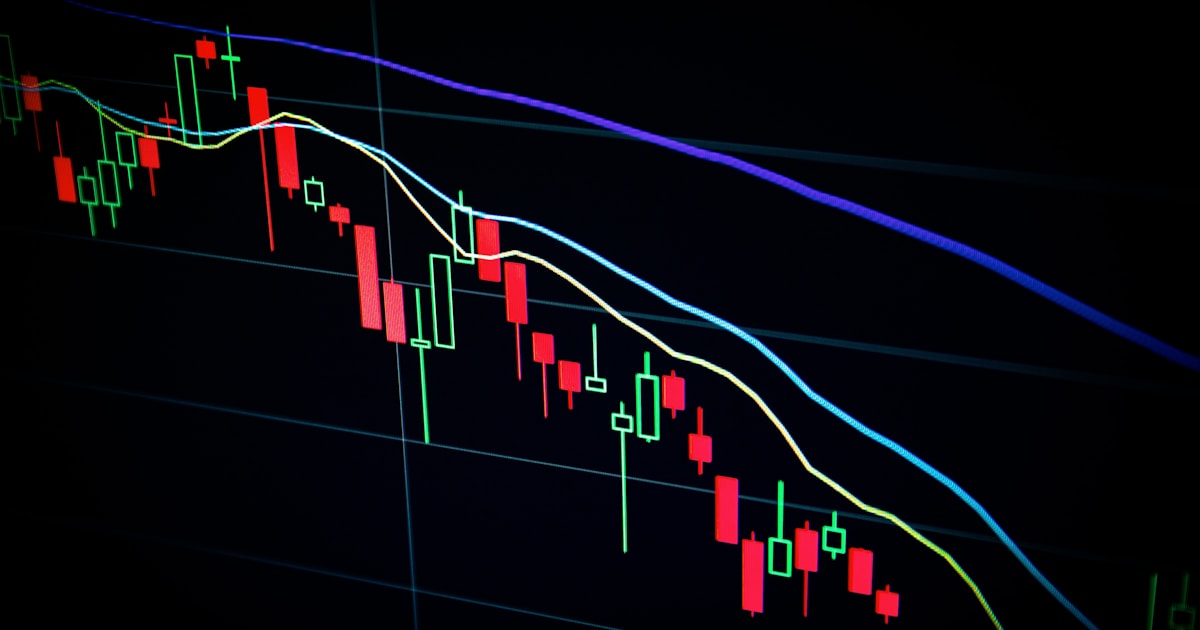
Chart Pattern Interpretation with SMC: Reading Candlestick Formations on XAU/USD

TL;DR:
- Traditional candlestick patterns mean nothing without SMC context — location is everything
- This guide shows how to interpret candlestick formations through the SMC lens on real XAU/USD charts
- A bullish engulfing at an order block = high probability. The same pattern in the middle of nowhere = noise.
- Learn to read candles as institutional footprints, not just shapes

Why Traditional Candlestick Patterns Fail

Most traders learn candlestick patterns (engulfing, doji, hammer, shooting star) as standalone signals. But a bullish engulfing in the middle of a range is noise. The SAME pattern at a key order block is a high-probability signal.

Key Takeaways:

The Location Hierarchy

| Location | Pattern Reliability | Example |

|----------|-------------------|---------|

| At an Order Block + FVG | Very High (70%+) | Bullish engulfing at bullish OB |

| At a 50% FVG (CE) | High (62%) | Pin bar at Consequent Encroachment |

| At premium/discount extreme | Medium (55%) | Doji at deep discount |

| At previous day high/low | Medium (52%) | Rejection at PDH |

| In the middle of a range | Low (35%) | Engulfing in the middle of nowhere |

| Against HTF bias | Very Low (28%) | Bullish pattern when D1 is bearish |

Real XAU/USD Case Study: October 2026

Setup 1: Bullish Engulfing at Order Block — HIGH PROBABILITY ✅

Location: H4 bullish order block at $2,395-$2,405 + FVG confluence

HTF bias: D1 bullish

Premium/Discount: Discount zone (below 50% of $2,380-$2,450 range)

Timing: London Kill Zone (03:00 EST)

The candle: A bearish candle (red) at $2,400 was followed by a strong bullish engulfing candle that completely consumed the previous candle's body, closing at $2,412.

Interpretation: The bullish engulfing at the order block confirms that institutional buyers are defending this level. The FVG provides additional confluence. The discount zone location and London Kill Zone timing add further probability.

| Parameter | Value |

|-----------|-------|

| Entry | $2,402 (on engulfing close) |

| Stop Loss | $2,390 (below OB) |

| TP1 | $2,430 (+$28 ✅) |

| TP2 | $2,450 (+$48 ✅) |

| Result | +$48 |

Win probability: ~70% (OB + FVG + discount + Kill Zone + engulfing confirmation)

Setup 2: Same Pattern, Wrong Location — LOW PROBABILITY ❌

Location: Middle of the dealing range, no OB, no FVG

HTF bias: D1 bullish

Premium/Discount: Near 50% equilibrium (neutral)

Timing: Off-hours (14:00 EST)

The candle: The SAME bullish engulfing pattern appeared at $2,422 — but there was no order block, no FVG, and it was during off-hours.

Interpretation: Without structural confluence, this engulfing is just noise. It's a coin flip.

Result: Price dropped 15 dollars after the engulfing. If entered, would have been stopped out.

Win probability: ~35% (no OB, no FVG, neutral zone, off-hours)

Setup 3: Pin Bar at Liquidity Pool — HIGH PROBABILITY ✅

Location: Sell-side liquidity (equal lows at $2,390)

HTF bias: D1 bullish

Timing: London Kill Zone

The candle: Price wicked below $2,390 to $2,385 (sweeping the SSL), then reversed sharply, closing at $2,395 with a long lower wick (pin bar / hammer).

Interpretation: The pin bar at the liquidity pool confirms the sweep. The long lower wick shows rejection of lower prices. Combined with the bullish HTF bias and London timing, this is a high-probability long.

| Parameter | Value |

|-----------|-------|

| Entry | $2,395 (on pin bar close) |

| Stop Loss | $2,383 (below sweep low) |

| TP1 | $2,415 (+$20 ✅) |

| TP2 | $2,440 (+$45 ✅) |

| Result | +$45 |

Win probability: ~68% (liquidity sweep + pin bar + HTF bias + Kill Zone)

The Candlestick Reading Rules

If all 5 checks pass → HIGH PROBABILITY (65-75%)

If 3-4 checks pass → MEDIUM PROBABILITY (50-55%)

If < 3 checks pass → LOW PROBABILITY (28-35%) → SKIP

FAQ

Q: Should I still learn traditional candlestick patterns?

A: Yes, but only as confirmation tools — never as standalone signals. The pattern tells you HOW price is reacting; the location tells you WHETHER it matters.

Q: What's the single most important candlestick signal in SMC?

A: The rejection wick at a liquidity pool. When price wicks beyond a key level and closes back inside, it's the strongest candlestick signal in SMC trading.

Risk Disclaimer

⚠️ Trading involves significant risk. This guide is for educational purposes only. Past performance does not guarantee future results.


Related Resources:

Blog | Tebotechsignals
Skip to main content
Chart Pattern Interpretation with SMC: Reading Candlestick Formations on XAU/USD
case studies
September 2, 2026

TebotechSignals Research Team

Institutional FX Analysts · ICT Smart Money Concepts Specialists

Chart Pattern Interpretation with SMC: Reading Candlestick Formations on XAU/USD

Learn how to interpret candlestick formations on XAU/USD using the SMC lens. Discover why chart pattern location is critical for trading analysis.

#candlestick
#chart_patterns
#ICT
#XAUUSD
#case_study
#SMC
#interpretation

📘 Reading Price Like the Big Players

Liquidity, order blocks and market structure — explained in plain English. Just $10.00.

Get It

📘 Trading Without the Drama

Fixing risk management, discipline and misinformation — explained in plain English. Just $10.00.

Get It
🎯
Sponsored · Keller, TX

Great Trades Deserve Great Cake 🍰

Chart Pattern Interpretation with SMC: Reading Candlestick Formations on XAU/USD

TL;DR:

  • Traditional candlestick patterns mean nothing without SMC context — location is everything
  • This guide shows how to interpret candlestick formations through the SMC lens on real XAU/USD charts
  • A bullish engulfing at an order block = high probability. The same pattern in the middle of nowhere = noise.
  • Learn to read candles as institutional footprints, not just shapes

Why Traditional Candlestick Patterns Fail

Most traders learn candlestick patterns (engulfing, doji, hammer, shooting star) as standalone signals. But a bullish engulfing in the middle of a range is noise. The SAME pattern at a key order block is a high-probability signal.

Key Takeaways:

  • Candlestick patterns are ONLY meaningful at key SMC levels
  • Location > Pattern shape
  • Volume and displacement matter more than candle color
  • Context (premium/discount, Kill Zone, HTF bias) determines if a pattern is tradeable

The Location Hierarchy

| Location | Pattern Reliability | Example | |----------|-------------------|---------| | At an Order Block + FVG | Very High (70%+) | Bullish engulfing at bullish OB | | At a 50% FVG (CE) | High (62%) | Pin bar at Consequent Encroachment | | At premium/discount extreme | Medium (55%) | Doji at deep discount | | At previous day high/low | Medium (52%) | Rejection at PDH | | In the middle of a range | Low (35%) | Engulfing in the middle of nowhere | | Against HTF bias | Very Low (28%) | Bullish pattern when D1 is bearish |

Real XAU/USD Case Study: October 2026

Setup 1: Bullish Engulfing at Order Block — HIGH PROBABILITY ✅

Location: H4 bullish order block at $2,395-$2,405 + FVG confluence HTF bias: D1 bullish Premium/Discount: Discount zone (below 50% of $2,380-$2,450 range) Timing: London Kill Zone (03:00 EST)

The candle: A bearish candle (red) at $2,400 was followed by a strong bullish engulfing candle that completely consumed the previous candle's body, closing at $2,412.

Interpretation: The bullish engulfing at the order block confirms that institutional buyers are defending this level. The FVG provides additional confluence. The discount zone location and London Kill Zone timing add further probability.

| Parameter | Value | |-----------|-------| | Entry | $2,402 (on engulfing close) | | Stop Loss | $2,390 (below OB) | | TP1 | $2,430 (+$28 ✅) | | TP2 | $2,450 (+$48 ✅) | | Result | +$48 |

Win probability: ~70% (OB + FVG + discount + Kill Zone + engulfing confirmation)

Setup 2: Same Pattern, Wrong Location — LOW PROBABILITY ❌

Location: Middle of the dealing range, no OB, no FVG HTF bias: D1 bullish Premium/Discount: Near 50% equilibrium (neutral) Timing: Off-hours (14:00 EST)

The candle: The SAME bullish engulfing pattern appeared at $2,422 — but there was no order block, no FVG, and it was during off-hours.

Interpretation: Without structural confluence, this engulfing is just noise. It's a coin flip.

Result: Price dropped 15 dollars after the engulfing. If entered, would have been stopped out.

Win probability: ~35% (no OB, no FVG, neutral zone, off-hours)

Setup 3: Pin Bar at Liquidity Pool — HIGH PROBABILITY ✅

Location: Sell-side liquidity (equal lows at $2,390) HTF bias: D1 bullish Timing: London Kill Zone

The candle: Price wicked below $2,390 to $2,385 (sweeping the SSL), then reversed sharply, closing at $2,395 with a long lower wick (pin bar / hammer).

Interpretation: The pin bar at the liquidity pool confirms the sweep. The long lower wick shows rejection of lower prices. Combined with the bullish HTF bias and London timing, this is a high-probability long.

| Parameter | Value | |-----------|-------| | Entry | $2,395 (on pin bar close) | | Stop Loss | $2,383 (below sweep low) | | TP1 | $2,415 (+$20 ✅) | | TP2 | $2,440 (+$45 ✅) | | Result | +$45 |

Win probability: ~68% (liquidity sweep + pin bar + HTF bias + Kill Zone)

The Candlestick Reading Rules

  1. Always check location first — Is there an OB, FVG, or liquidity pool nearby?
  2. Check HTF bias — Does the pattern align with D1 trend?
  3. Check premium/discount — Is the pattern in the correct zone?
  4. Check timing — Is it during a Kill Zone?
  5. Check displacement — Is the pattern candle strong (large body) or weak (small body)?

If all 5 checks pass → HIGH PROBABILITY (65-75%) If 3-4 checks pass → MEDIUM PROBABILITY (50-55%) If < 3 checks pass → LOW PROBABILITY (28-35%) → SKIP

FAQ

Q: Should I still learn traditional candlestick patterns? A: Yes, but only as confirmation tools — never as standalone signals. The pattern tells you HOW price is reacting; the location tells you WHETHER it matters.

Q: What's the single most important candlestick signal in SMC? A: The rejection wick at a liquidity pool. When price wicks beyond a key level and closes back inside, it's the strongest candlestick signal in SMC trading.

Risk Disclaimer

⚠️ Trading involves significant risk. This guide is for educational purposes only. Past performance does not guarantee future results.


Related Resources:

🎯
Sponsored · Keller, TX

Great Trades Deserve Great Cake 🍰

📲 Get Free Daily Signals on WhatsApp

Follow our free channel for daily market briefs, ICT signals, and SMC education — delivered straight to your WhatsApp.

Join Free →

Disclaimer: This site is an educational platform. All content — including courses, articles, and any market commentary — is for educational and informational purposes only and does not constitute financial, investment, or professional advice, a recommendation, or a solicitation to trade. It is general in nature and does not take into account your individual financial situation, objectives, or needs. All trading and investing involve risk of loss; past performance is not indicative of future results. Always conduct your own research and consult a licensed professional before making any financial decisions. Client and testimonial experiences may not be typical — individual results will vary. Full fee structure is disclosed on our Pricing page.

We use cookies for essential site functionality and, with your consent, for analytics and advertising (Google Analytics, Facebook, Bing) to understand traffic and improve TebotechSignals. See our Privacy Policy for details.