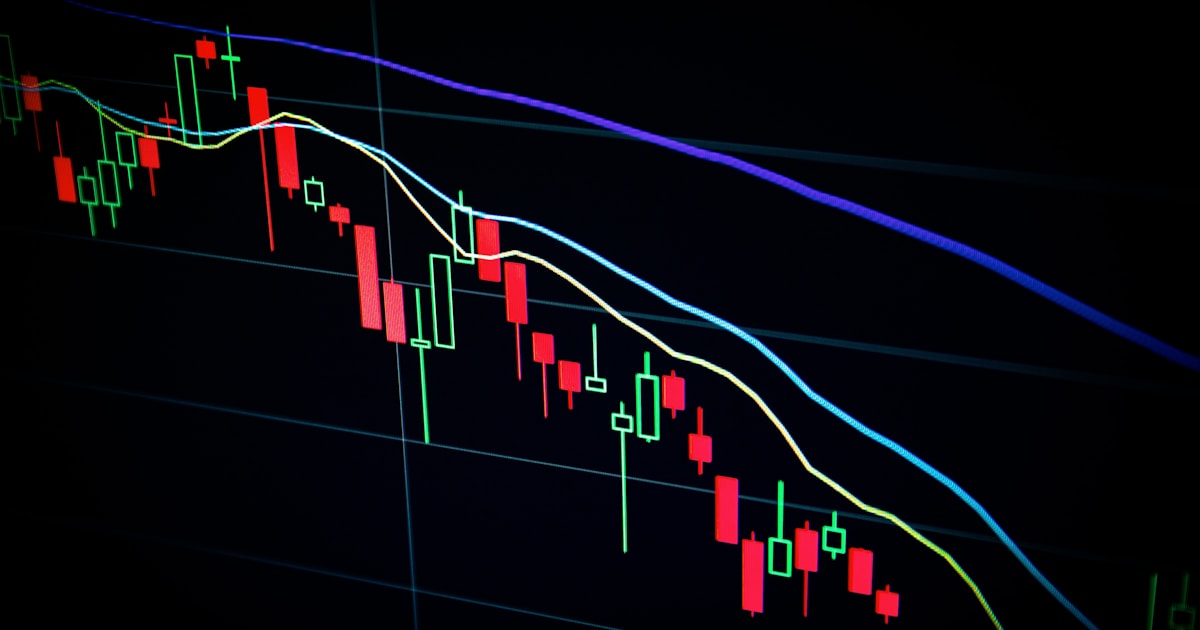
A break of structure fair value gap is simply the imbalance (the three-candle gap) that gets left behind on the chart at the exact moment price breaks a previous swing high or low. Traders use it because it marks a zone where price moved fast, left inefficiency, and often returns to "fill" before continuing the move. It's not magic — it's a way to define a precise entry zone around a structural event you can see with your own eyes.
I've traded this combination for years, and the honest truth is that it's a tool for entry precision, not a crystal ball. It tells you where to look for a trade, not whether the trade will win. Let's go through it properly.
What exactly happens when a break of structure creates a fair value gap?
When price breaks a swing high or low with strong momentum, it often leaves a three-candle gap behind — the fair value gap (FVG) — because the middle candle's range doesn't overlap with the candles before and after it. That gap sits right at the location where the break of structure (BOS) occurred, giving you a visual anchor for both events at once.
Think of the BOS as confirmation that the trend or short-term direction has shifted, and the FVG as the "address" where institutional buying or selling likely happened too fast for retail orders to get filled. If you want the deeper mechanics of the gap itself, this breakdown of fair value gaps covers the candle math in detail.
How do I combine BOS and FVG into one trade setup?
You wait for the structural break first, then use the FVG created during that break as your entry zone on the pullback, rather than chasing price after the fact.
- Mark the prior swing high or low on your chart (the level that needs to break).
- Watch for a strong impulsive candle to close beyond that level — that's your BOS.
- Identify the three-candle FVG left behind during that impulsive move.
- Wait for price to retrace back into the FVG (partial or full fill).
- Look for a reaction — rejection wick, small shift in momentum — before entering.
- Place your stop beyond the FVG or the recent swing low/high, and size the position so the loss equals roughly 0.5% of your account.
For a slower, more deliberate version of this process, how to mark a break of structure step by step is worth reading alongside this.
What's the difference between trading a BOS alone versus a BOS+FVG combo?
A BOS alone tells you direction has likely shifted, but it doesn't give you a precise entry — you'd often be entering late or guessing a pullback level. Adding the FVG gives you a defined box to wait for.
| Approach | What it tells you | Entry precision | Typical trade frequency |
|---|---|---|---|
| BOS alone | Direction has shifted | Low — entries are often reactive | Higher |
| FVG alone | A gap exists, may get filled | Medium — no structural context | Medium |
| BOS + FVG combo | Direction shifted AND has a defined re-entry zone | Higher — clear invalidation point | Lower |
The trade-off is frequency. Waiting for both conditions to line up means fewer setups, but each one tends to have a cleaner stop-loss location.
Example: how this might look on a chart
Say GBP/USD is trading in a range between 1.2600 and 1.2700. Price breaks below 1.2600 with one large bearish candle — that's your BOS to the downside. During that candle, a fair value gap forms between, say, 1.2615 and 1.2630.
Price pulls back into that 1.2615–1.2630 zone two hours later and prints a small bearish rejection candle. You short at 1.2620, stop at 1.2645 (above the gap and the recent high), targeting the next liquidity pool near 1.2520.
Risking 0.5% of a $10,000 account on a 25-pip stop means your position size is calculated so a loss equals $50 — not a dollar more, regardless of how confident the setup looks. These numbers are illustrative only; your actual stop distance and lot size will depend on your broker and pair.
If you want to see this logic applied to a live trade rather than a hypothetical, the GBP/USD break of structure case study walks through a real example with full numbers.
What risk management rules apply to this setup?
The same rules that apply to every setup: define your risk in dollars or percentage terms before you enter, not after. Trading forex and gold carries a high risk of loss, and no combination of BOS and FVG removes that risk — it only helps you locate where you're wrong sooner rather than later.
A few non-negotiables I stick to:
Risk roughly 0.5% of account equity per trade, not per idea.
Set the stop before you set the entry order, not after.
If the FVG gets fully filled and price keeps running through it without reacting, that's often a sign the level failed — exit rather than hope.
Never add to a losing BOS+FVG trade expecting a bigger reaction at a deeper level.
If you're still mixing up BOS with other structural signals, BOS versus CHoCH is a useful companion read before you start trading this combo live.
Does session timing matter for traders in Lagos, Johannesburg, Accra or Nairobi?
Yes, timing matters, though the mechanics of BOS and FVG don't change by location. The cleanest structural breaks on majors tend to cluster around the London and New York session overlap, which falls in the evening for traders in West and East Africa.
If you're based in Lagos, Accra, Johannesburg or Nairobi, it's worth mapping London (roughly 10am–7pm your local time, adjusting for daylight saving in the UK) and New York open against your own clock so you're not trying to force a BOS+FVG setup during the quieter Asian hours when gaps form less reliably on majors.
If you want a broader framework before narrowing in on this specific combo, the practical BOS strategy guide is a solid starting point, and our education section has more on structure-based trading in general.
Frequently asked questions
Is a break of structure fair value gap the same as an order block?
No — an order block is the candle or zone before the impulsive move, while the FVG is the gap left behind during the move itself; they often overlap but aren't identical.
Do I need the FVG to fully fill before entering?
Not necessarily — many traders enter on a partial fill with a reaction, though waiting for a deeper fill can sometimes give a better risk-to-reward ratio at the cost of missing the trade.
Can this setup be used on gold (XAU/USD)?
Yes, the same BOS-plus-FVG logic applies to gold, though gold's volatility often means gaps form and fill faster than on major currency pairs, so stop placement needs extra care.